What is Thonny IDE
Thonny is a highly convenient IDE for programming MicroPython on the Raspberry Pi Pico. With its built-in MicroPython support, Thonny makes it easy to write, upload, and debug code directly on your Pico. Here’s a breakdown of how Thonny is used for working specifically with MicroPython on the Raspberry Pi Pico.
How to download and Install on System
Go to the Thonny Website: Open a web browser and visit https://thonny.org/
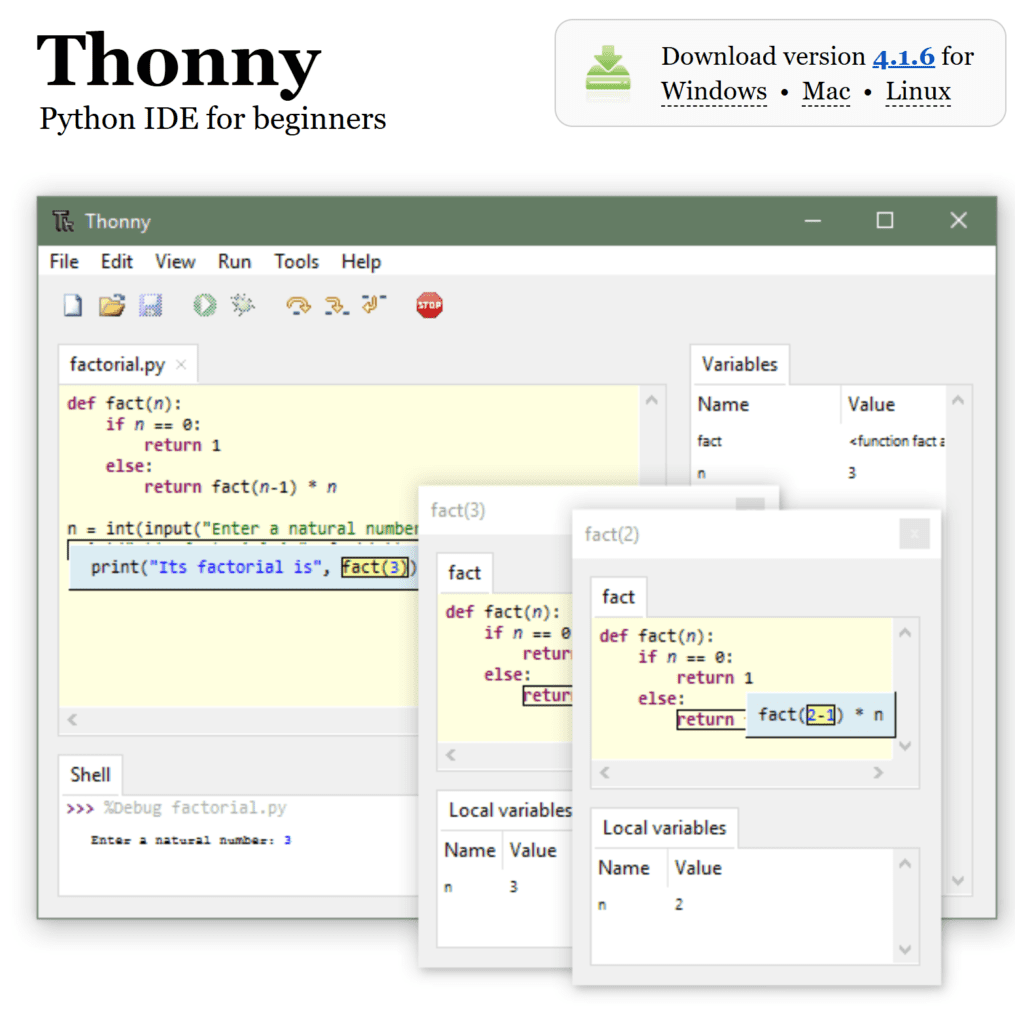
Download the Installer:
- On the Thonny homepage, you’ll see download options for different operating systems.
- Choose the appropriate version for your operating system (Windows, macOS, Linux, or Raspberry Pi).
Install Thonny:
- Windows: Download the
.exefile and double-click it to run the installer. Follow the instructions on the screen to complete the installation. - macOS: Download the
.dmgfile, open it, and drag the Thonny icon to your Applications folder. - Linux: Thonny is available through the default package manager on many Linux distributions. You can install it via the command line:
- For Ubuntu/Debian:
sudo apt install thonny - For Fedora:
sudo dnf install thonny
- For Ubuntu/Debian:
- Raspberry Pi OS: Thonny is usually pre-installed on Raspberry Pi OS. If not, you can install it using
sudo apt install thonny.
Connecting Your Pico to Thonny
Open the Thonny software.
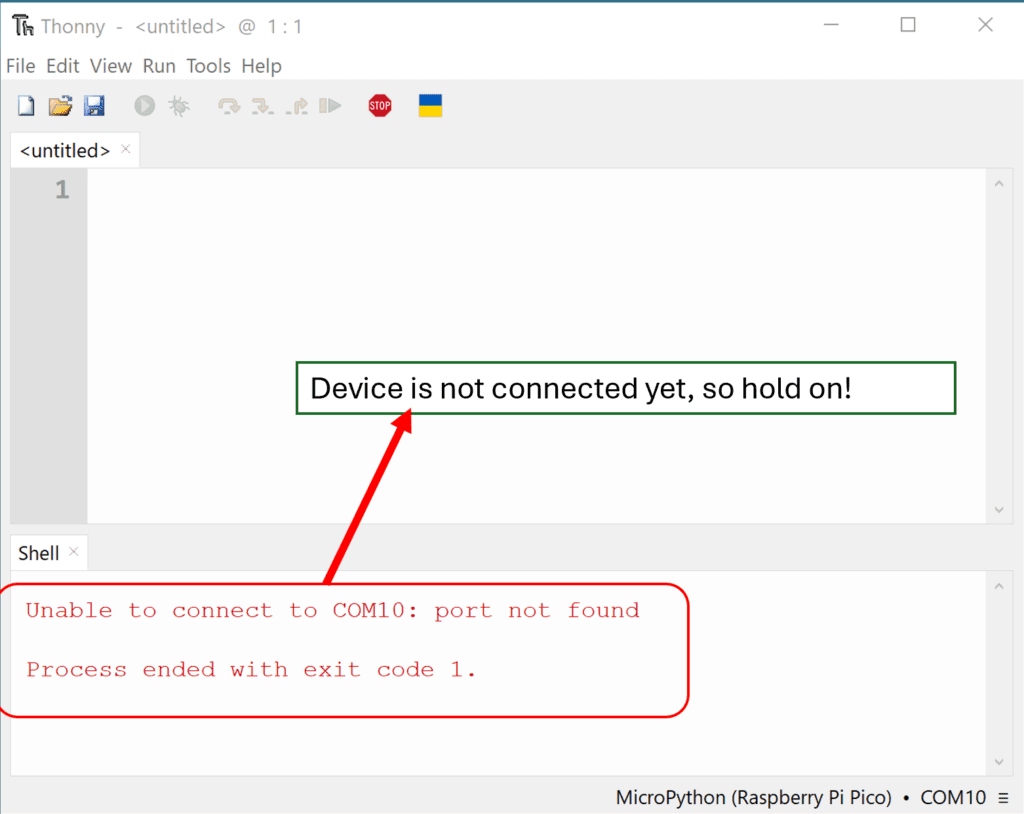
Connect the Pico Modulel with micro USB cable with System. Open the Thonny once again and you will see the following shell.
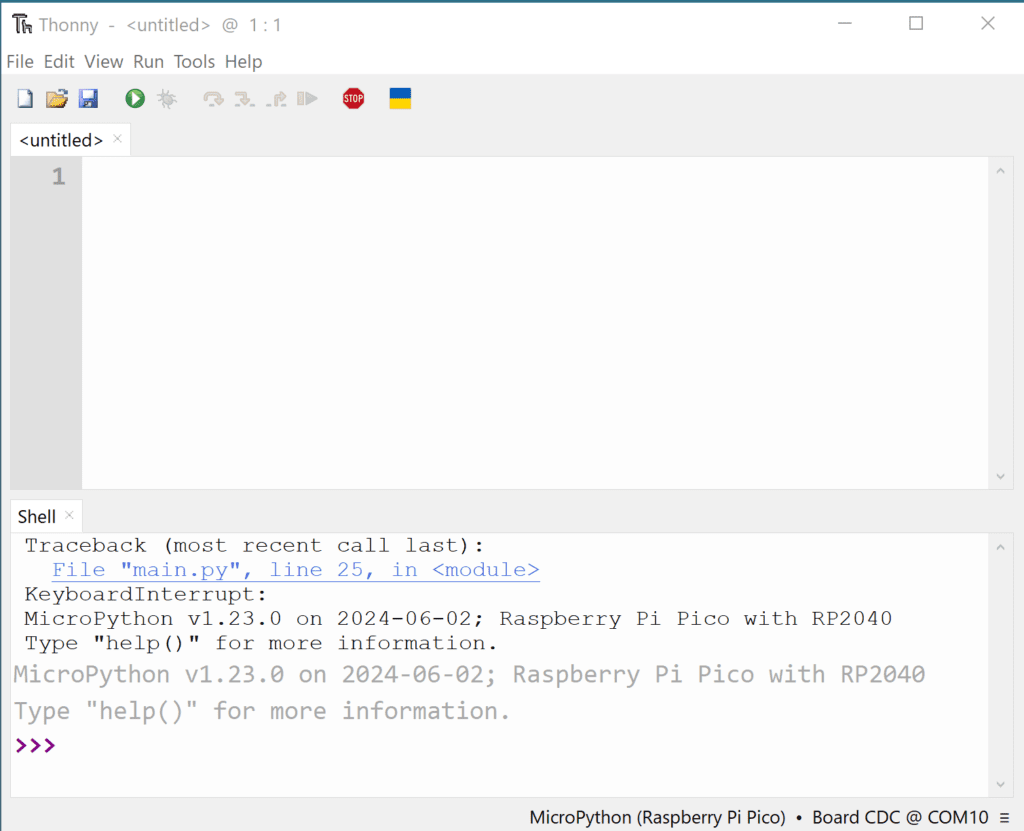
Makre sure to select right interpreter.

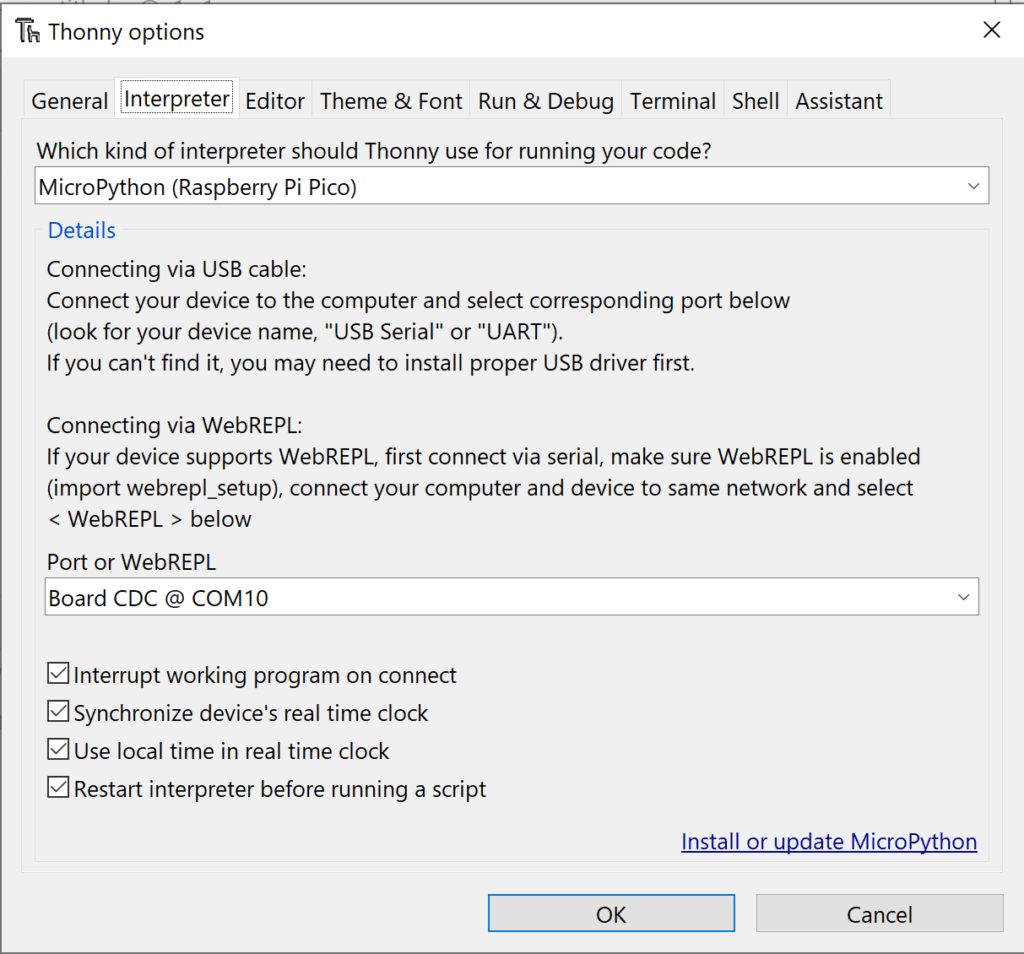
There is one more way to select right interpretor and Port for Thonny IDE.
Open Thonny and go to Tools > Options > Interpreter.
In the “Interpreter” tab, select MicroPython (Raspberry Pi Pico) from the dropdown. Thonny should automatically detect your Pico on a serial port, but if not, select the correct port manually.
We are set to code.

